Downloads

※ During the installation of the software on the device (SETUP), you will be asked once to give rights to the software--> this must be accepted otherwise the installation procedure will be canceled...
● MAPPING DOWNLOADS FOR 125CC ENGINES
(PCX125 / VARIO125 / CLICK125 / SH125 / AIRBLADE 125...):
● ECU4T_125_01.CSV MAPPING (PCX125 V1) / (150CC CYLINDER & CYLINDER HEAD):
● Mapping First Generation PCX125 engine (JF28), with a 150cc (58mm bore) cylinder and cylinder head.
● This map can be used with the original PCX125 V1 injector.

● ECU4T_125_02.CSV MAPPING (PCX125 V1) / (150CC/HIGH FLOW AIR FILTER & TUNING EXHAUST):
● Mapping First Generation PCX125 engine (JF28), with a 150cc (58mm bore) cylinder & cylinder head, with a high flow air filter and tuning exhaust installed.
● This map can be used with the original PCX125 V1 injector.

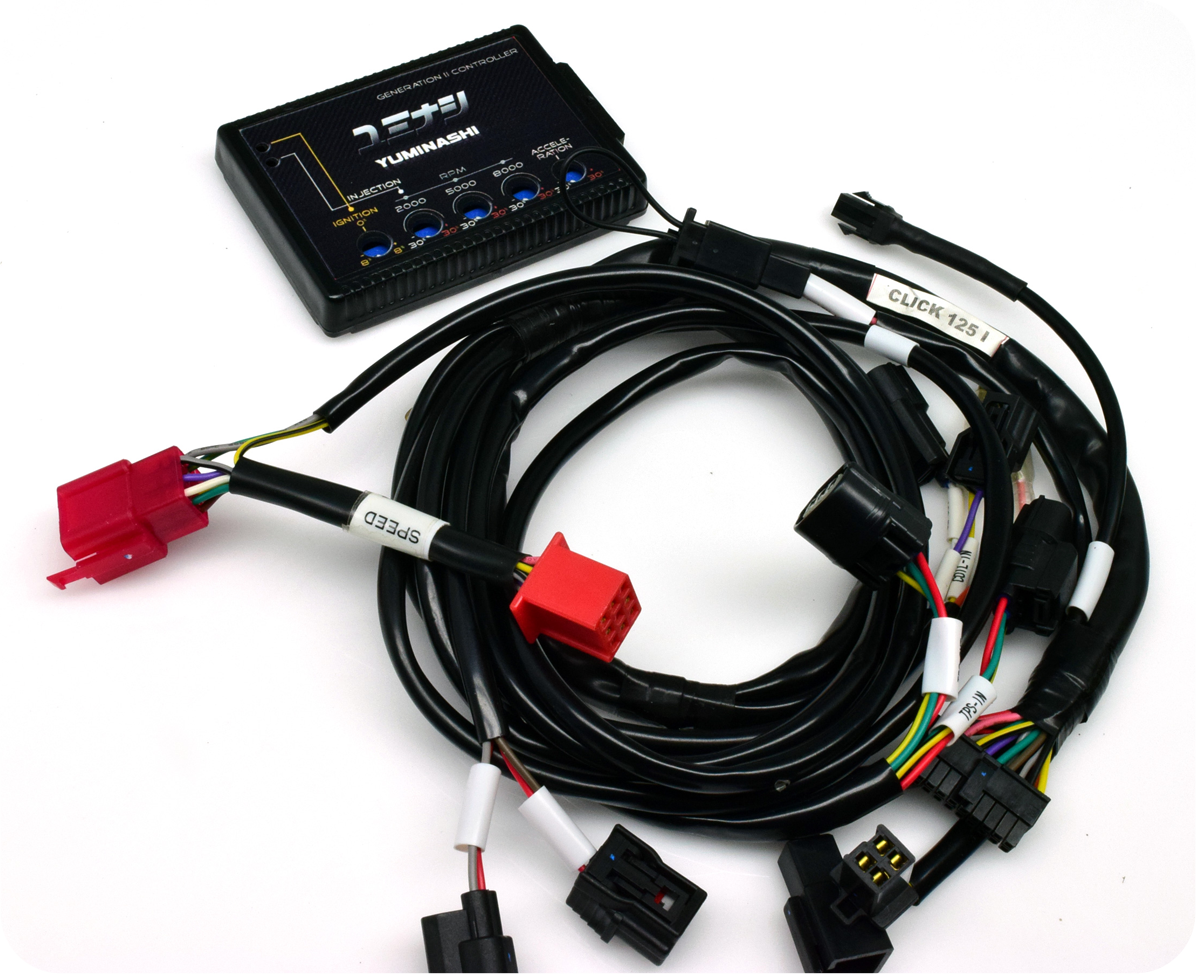
PGM-FI CONTROLLER V2.2, 38772-KZR-000 / HONDA CLICK 125i - VARIO TECHNO 125i - VARIO 125 eSP - VARIO 150 eSP
USER MANUAL DRIVER SETUP SETUP TUNER PROGRAM
● STEP 1: Download the Tuner program.
● STEP 2: Download and install the driver.
-While installing the driver, a MS-DOS screen should pop-up which will work the install out, if this isn't the case, the driver isn't installed correctly.
If the driver was installed correctly, then you should be able to read this clearly at the end in the MS-DOS screen.
!!!!If the MS-DOS screen pop's up for 1 or 2 seconds and close down right away, then the driver wasn't installed.
In that case you need to click on the driver again to open the MS-DOS screen where you will see clearly that the install is processing, with at the end the message that the driver was installed successfully.
● STEP 3: Click on your Windows start button at the bottom, and type in "Device Manager". Once you did that click on Device Manager.
If you are in the Device Manager you need to click on the little arrow next to "Ports (COM & LPT)".
Next, you plug your USB Programmer Cable in your USB port without being connected to your PGM-FI Controller yet, and you will see that a new USB Serial Port number will show up in the Ports (COM & LPT) area.
This number is very important because this is the USB serial port number where you will work with, so keep this number in mind.
● STEP 4: Open the Tuner program, click on "Setup", next on "General parameter setup" and select the "Communication" tab over there.
Once you selected the Communication tab you will see which communication port has been selected, by default this will be Port Number "Com 1".
The next thing you need to do is to click and select the port number which you saw in your Device Manager where you will work with, and click next on "Apply" and "Ok".
● STEP 5: Restart your computer
● STEP 6: Open the Tuner program and connect the USB PGM-FI PROGRAMMER CABLE to your PGM-FI controller now with the USB cable installed in the same USB port.
● STEP 7: Turn your ignition lock switch on, to get access with a green beam below your screen instead of a red beam.
● STEP 8: Start to tune your PGM-FI Controller!...

If the red beam isn't turning in to a green beam, then you don't have connection with your tuner program!
In that case you will need to change your Port Com number manually in your Device Manager first, and change this new number then in your tuning program's communication tab.
-To change the Port Com number manually you need to go back to your USB Serial Port in the Ports (COM & LPT) area where your USB Tuner Cable is connected with, and right click on the USB Serial Port number, where you next select "Properties".
A new window will open up once you have selected Properties where you need to select the "Port Settings" tab, and next click on "Advanced".
In the Advanced Settings window you click on the small arrow next to the COM Port Number, and select manually which COM Port Number you want to use from the once which are available. You will be able to see all COM Port Numbers which are already in use, so it's important that you select a COM Port Number which isn't in use at this moment (select one of the lowest numbers available).
Once you have selected a COM port number in the list, click on "OK" and go back to your tuner software where you need to select that very same COM port number in the Communication Tab.
If you turn your ignition switch key on from your bike you should get a green light now which enables you to connect with the program and to make changes on your ECU settings.
-If you downloaded the Base map which has been installed as default, then keep in mind that this map has been programmed in Map 2, not in Map 1.
To select Map 2 you need to install the jumper wire which comes with the PGM-FI controller. If you select Map 1, then you will see only zero's, so keep this in mind...
If you want to read the data installed on your PGM-FI controller, then press the r key on your keyboard to read in each tab the installed data.
-If you still aren't able to get a green light after all of this, then switch your ignition switch off, restart your computer, open your tuning program first, check if the right COM port is still selected correctly, and switch then your ignition lock on. You should be able to get a red beam now.
STANDALONE ECU S4 V8.1 FIRST GENERATION / HONDA MSX125-GROM125 / 28770-K26-000
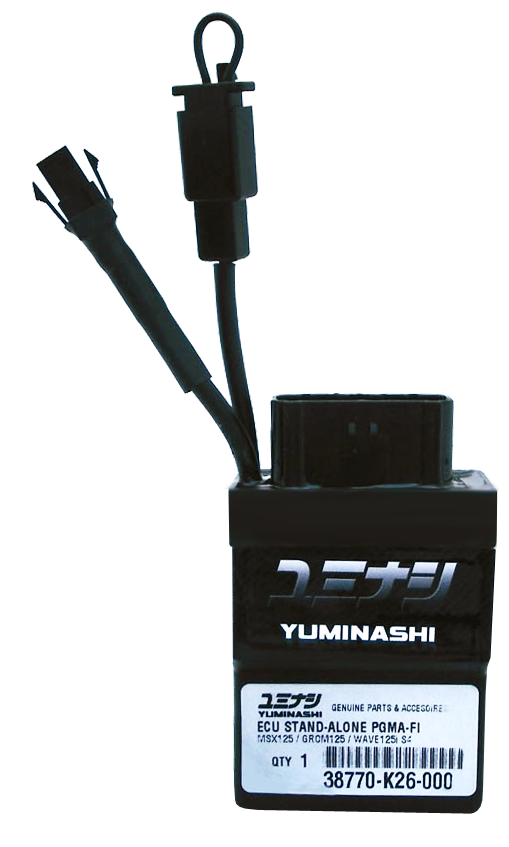
USER MANUAL DRIVER SETUP SETUP TUNER PROGRAM 

TOURING MAP RACING MAP
● STEP 1: Download and install the driver
(While installing the driver, a MS-DOS screen should pop-up which will work the install out, if this isn't the case, the driver isn't installed correctly)
● STEP 2: Download the Tuner program.
● STEP 3: Restart your computer
● STEP 4: Open the Tuner program and connect the USB PGM-FI PROGRAMMER CABLE
● STEP 5: Turn your ignition lock switch on, to get access with a green beam below your screen instead of a red beam.
● STEP 6: Start to tune your standalone PGM-FI unit / Factory touring or racing map can be downloaded above to be installed.
STANDALONE ECU / AFR DATALOGGER V8.9 2015 & 2016 IAT ENABLED
28770-K26-001 & 28770-K26-002 (HONDA MSX125-GROM125)
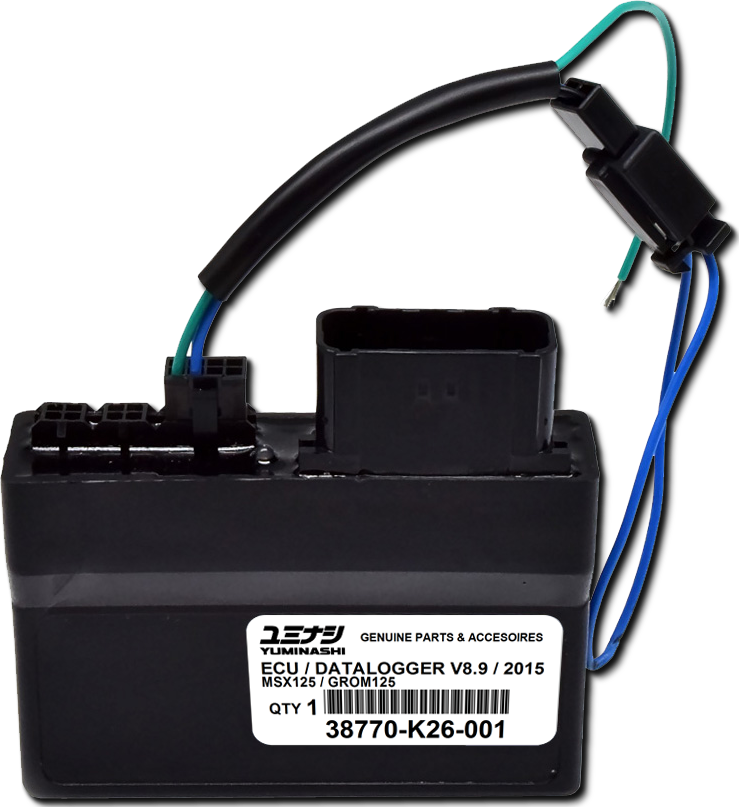
USER MANUAL DRIVER SETUP SETUP TUNER PROGRAM
TOURING MAP


MAP FOR STOCK MSX/GROM125 (Click this link to download)
8.1 OLD STYLE MAP FOR 8.9 IAT ENABLED ECU (Click this link to download)
● STEP 1: Download and install the driver
(While installing the driver, a MS-DOS screen should pop-up which will work the install out, if this isn't the case, the driver isn't installed correctly)
● STEP 2: Download the Tuner program.
● STEP 3: Restart your computer
● STEP 4: Open the Tuner program and connect the USB PGM-FI PROGRAMMER CABLE
● STEP 5: Turn your ignition lock switch on, to get access with a green beam below your screen instead of a red beam.
● STEP 6: Start to tune your standalone PGM-FI unit / Factory touring or racing map can be downloaded above to be installed.
STANDALONE ECU / AFR DATALOGGER V8.9 2015 / 2016 HONDA MSX125-GROM125 / 28770-K26-001
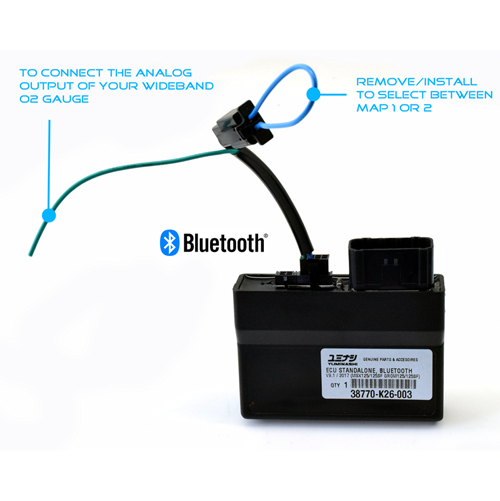
STANDALONE ECU / 2017 BLUETOOTH V9.1 / HONDA MSX125-GROM125 / 28770-K26-003
DRIVER SETUP SETUP TUNER PROGRAM
APITECH ANDROID TUNER PROGRAM: CLICK HERE
● STEP 1: Download and install the driver
(While installing the driver, a MS-DOS screen should pop-up which will work the install out, if this isn't the case, the driver isn't installed correctly)
● STEP 2: Download the Tuner program.
● STEP 3: Restart your computer
● STEP 4: Open the Tuner program and connect the USB PGM-FI PROGRAMMER CABLE
● STEP 5: Turn your ignition lock switch on, to get access with a green beam below your screen instead of a red beam.
● STEP 6: Start to tune your standalone PGM-FI unit / Factory touring or racing map can be downloaded above to be installed.
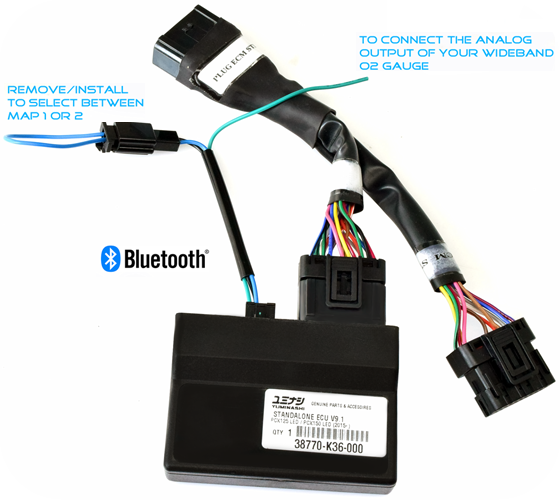
STANDALONE ECU / 2017 BLUETOOTH V9.1 / HONDA PCX125-150 / 28770-K36-000
DRIVER SETUP SETUP TUNER PROGRAM
APITECH ANDROID TUNER PROGRAM: CLICK HERE![]()
● STEP 1: Download and install the driver
(While installing the driver, a MS-DOS screen should pop-up which will work the install out, if this isn't the case, the driver isn't installed correctly)
● STEP 2: Download the Tuner program.
● STEP 3: Restart your computer
● STEP 4: Open the Tuner program and connect the USB PGM-FI PROGRAMMER CABLE
● STEP 5: Turn your ignition lock switch on, to get access with a green beam below your screen instead of a red beam.
● STEP 6: Start to tune your standalone PGM-FI unit / Factory touring or racing map can be downloaded above to be installed.

 Thai Baht
 Euro
Euro
 Pound Sterling
 Japanese Yen (¥)
 Australian Dollar
 Canadian Dollar
 Russian Ruble
 Indonesian Rupiah
 Malaysian Ringgit
 Polish Złoty
 Czech Koruna
 Brazilian Real
 South African Rand
 Philippine Peso
 South Korean Won
 Indian Rupee
 Vietnamese Dong
 Israeli Shekel
 Singapore Dollar
 Hong Kong Dollar
 CFP Franc
 Swiss Franc
 Swedish Krona
 Turkish Lira


